A Portfolio PDF is a container similar to a .zip file with multiple PDFs packaged together. Imaging and Documentation Services (IDS) cannot process Portfolio PDFs to the IRS. A Binder PDF is a single PDF created from combining multiple PDFs into one document.
If you have created a Portfolio PDF, you must convert it to a Binder PDF before it can be imaged. You must also rename the Binder PDF to match the Doc ID.
- Open the Portfolio PDF using Adobe Pro or Adobe DC.
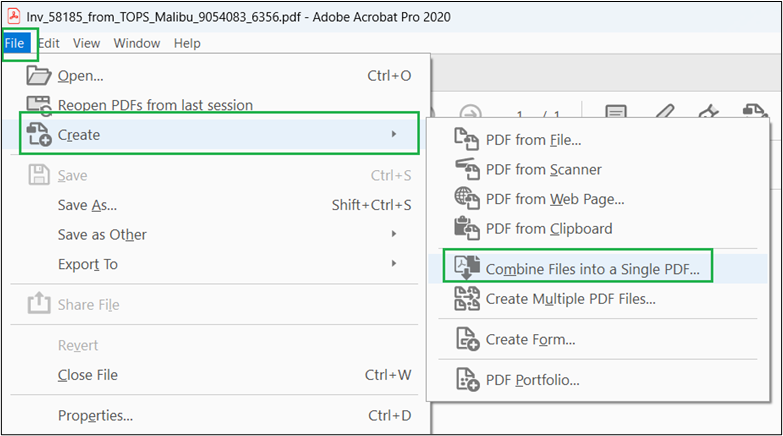
- Select "File," then "Create," then "Combine Files into a Single PDF."
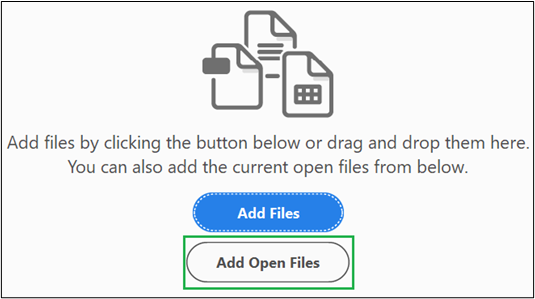
- In the "Combine Files" tool, select the "Add Open Files" button below the "Add Files" button
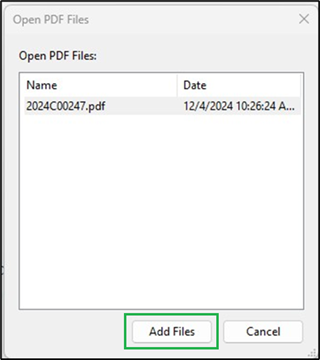
- The "Open PDF Files" dialog box will open and will display all open PDFs. Select the Portfolio PDF you need to convert and then click the "Add Files" button.
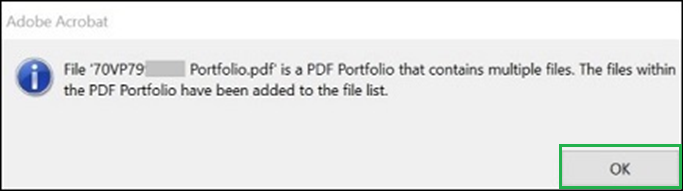
- A new dialog box will display the following warning. Click the "OK" button.
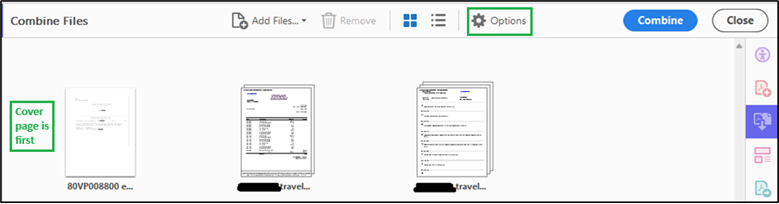
- The "Combine Files" tool will display all of the files contained in the Portfolio and allow you to change the order of the files by clicking and dragging them into the correct order before you create the single Binder PDF. The *DEFINE cover sheet, also known as the Voucher Transmittal Form, must be the first file, as shown in figure 5.
NOTE: If your Portfolio PDF contains files with digital signatures, those digital signatures will be removed from your original files as part of the conversion process. To preserve the original digital signatures, you must make a copy of your Portfolio PDF and then convert the copy to the Binder PDF format. This will leave the original Portfolio PDF with the intact digital signatures. Please see Preparing PDFs with Signature Fields for Upload to Box for instructions.
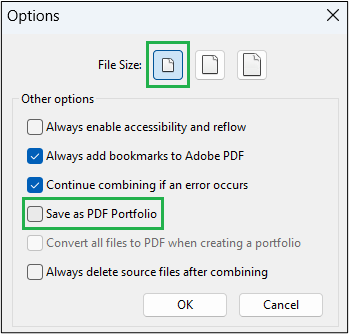
- Before combining the files, click the "Options" button, as seen in figure 5. The "Options" dialog box will open as displayed in figure 6. The "Save as PDF Portfolio" option must be unchecked, and best practice is to select the smallest file size option, as indicated in figure 6. Click the "OK" button.
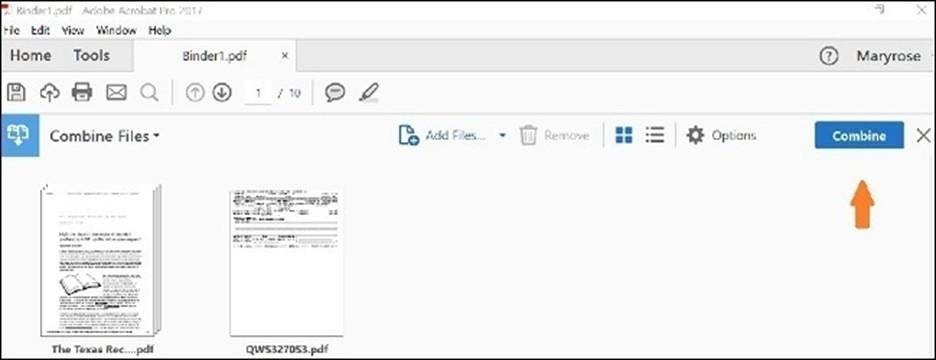
- Click the blue "Combine" button in the upper-right corner.
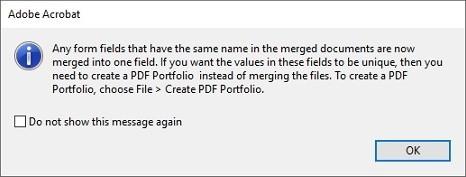
- If the dialog box below appears, click the "OK" button.
- The files are now combined into a Binder PDF, which is now ready to be converted to a black and white document and then saved with the Doc ID as the filename.
- With the Binder document open, click the printer icon.

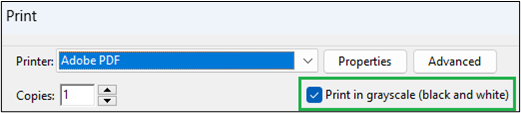
- Select Adobe PDF as the printer and confirm that the "Print in grayscale (black and white)" checkbox is checked.
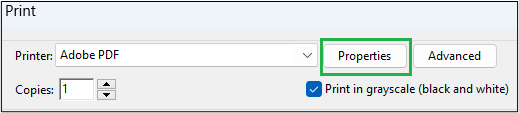
- Click the "Properties" button to open the Document Properties dialog box.
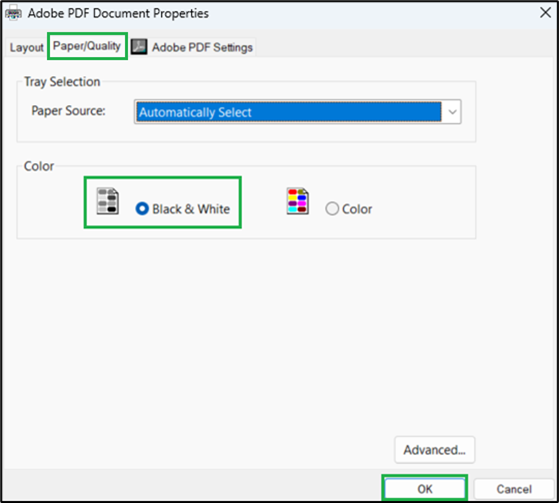
- Click the Paper/Quality tab. Then, under the "Color" options, select the "Black & White" radio button, then click the "OK" button.
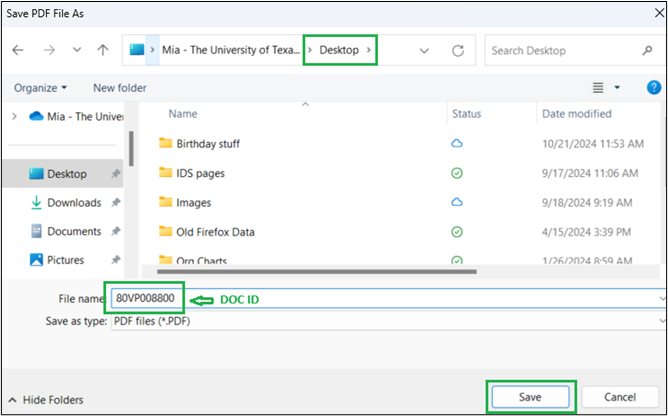
- Click the "Print" button on the print screen, which will open a separate window where you must rename your document with the Doc ID and select the location to save the new file. Click the "Save" button.
Contact IDS
- Address:
-
Imaging and Documentation Services
110 Inner Campus Drive
Campus Mail Code: K5400
Austin, Texas 78712
- Phone: